Blue Beaver ConceptsBLUE BEAVERCONCEPTSLet’s talk about your project
← All projects

PROJECT 02 · BUILD IN PROGRESS

Yamaha
XV750-BVR.

A Virago, reworked.

A café build bringing together an R1 front-end conversion, custom exhaust, scan-based design, 3D-printed components, and carbon-fiber bodywork.
RestomodCustom fabricationCarbon fiber
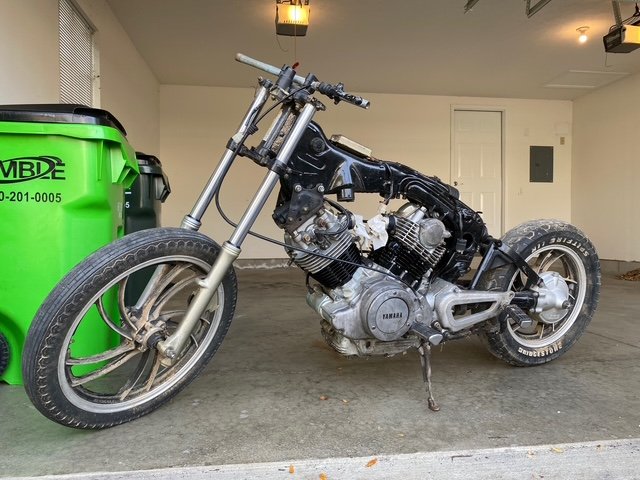
Yamaha XV750 in its early stripped-down build stage
THE STARTING POINT · YAMAHA XV750

01 / THE FOUNDATION

Setting the stance. Making room.

The R1 front-end conversion and custom exhaust establish the build’s layout. Mock-up work checks the geometry, clearances, and overall proportions before final integration.
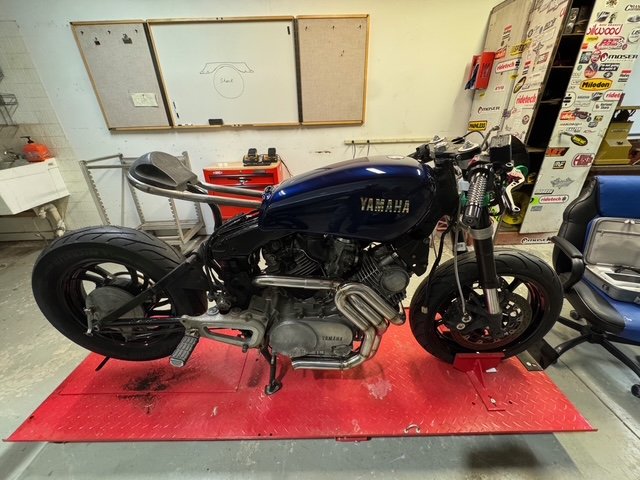
Front-end mock-up to check the R1 conversion, fitment, and stance.
Custom exhaust developed around the engine and under-frame clearance.
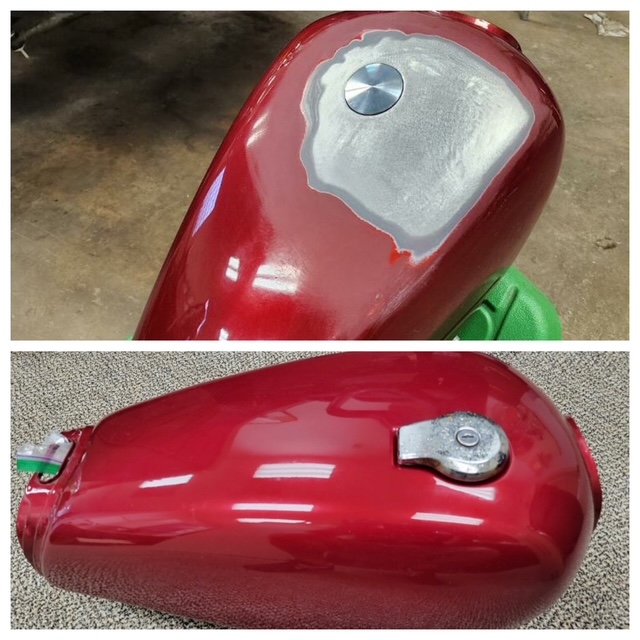
Refinished fuel tank retains the classic shape with a new finish.

02 / ELECTRONICS & WIRING

The final wiring cleanup.

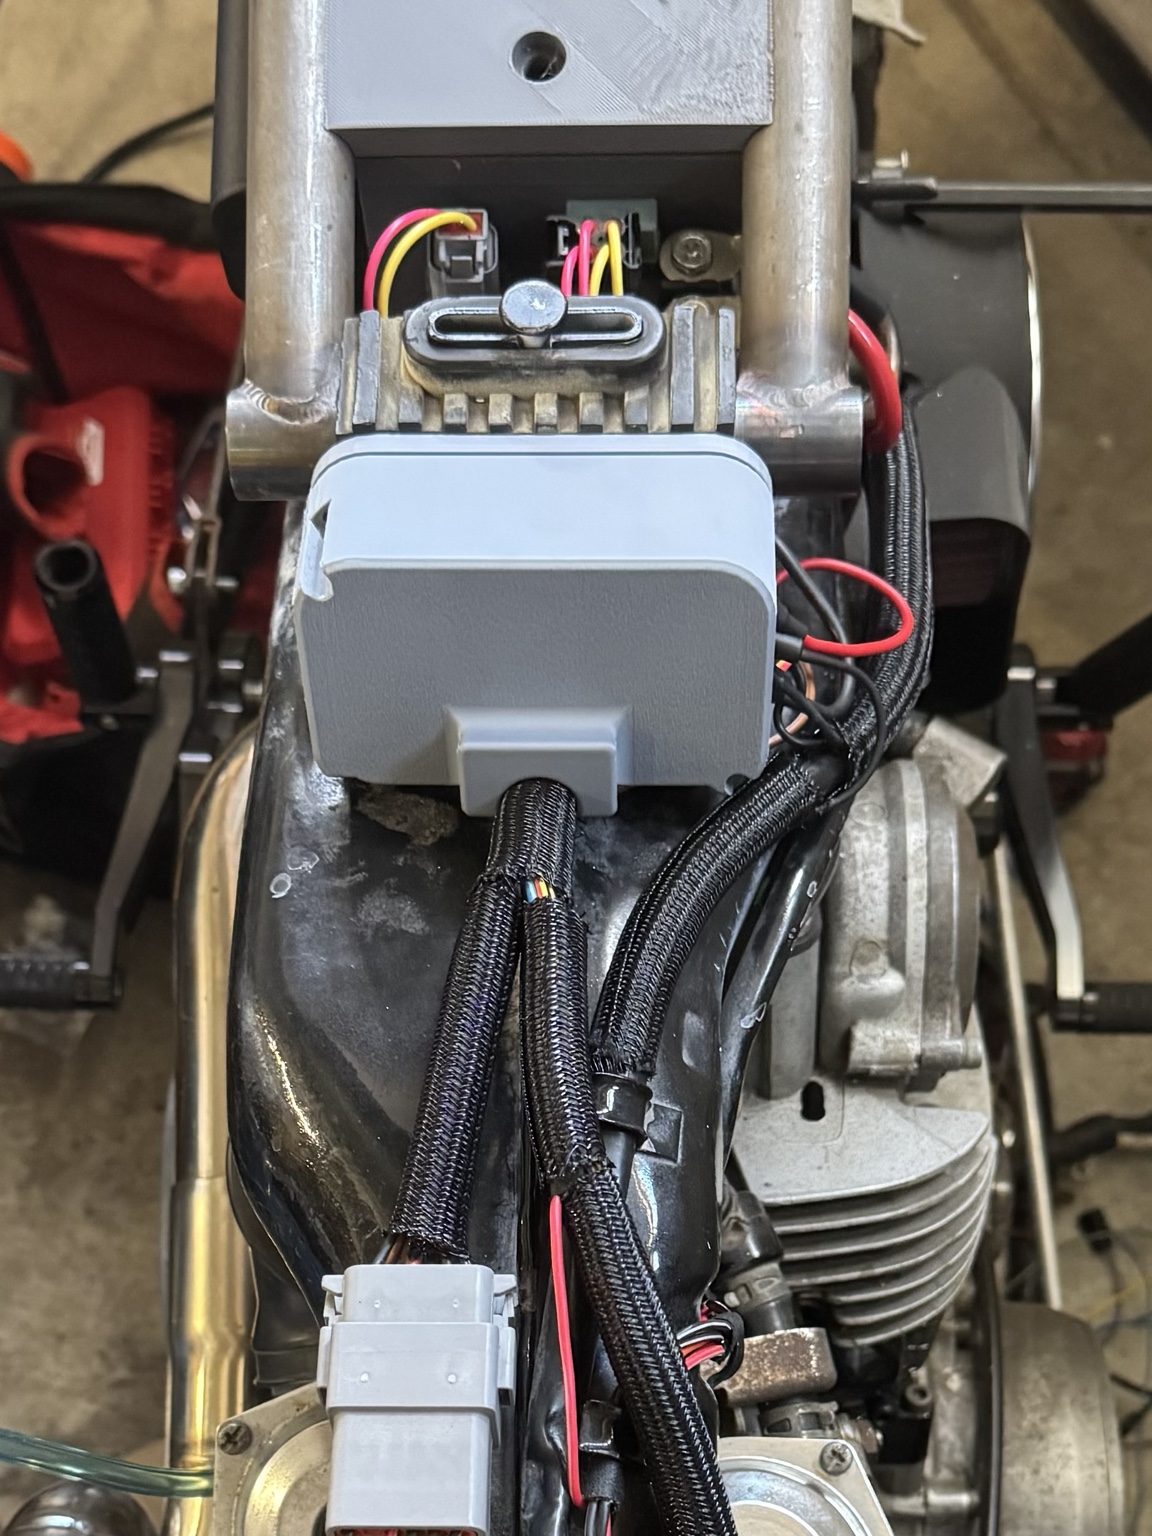
A custom enclosure brings the Motogadget m.unit blue installation together within the XV750’s compact frame. The design is complete, with the cover, mounting details, and harness openings established through physical fitment. The final version is being printed in ABS.
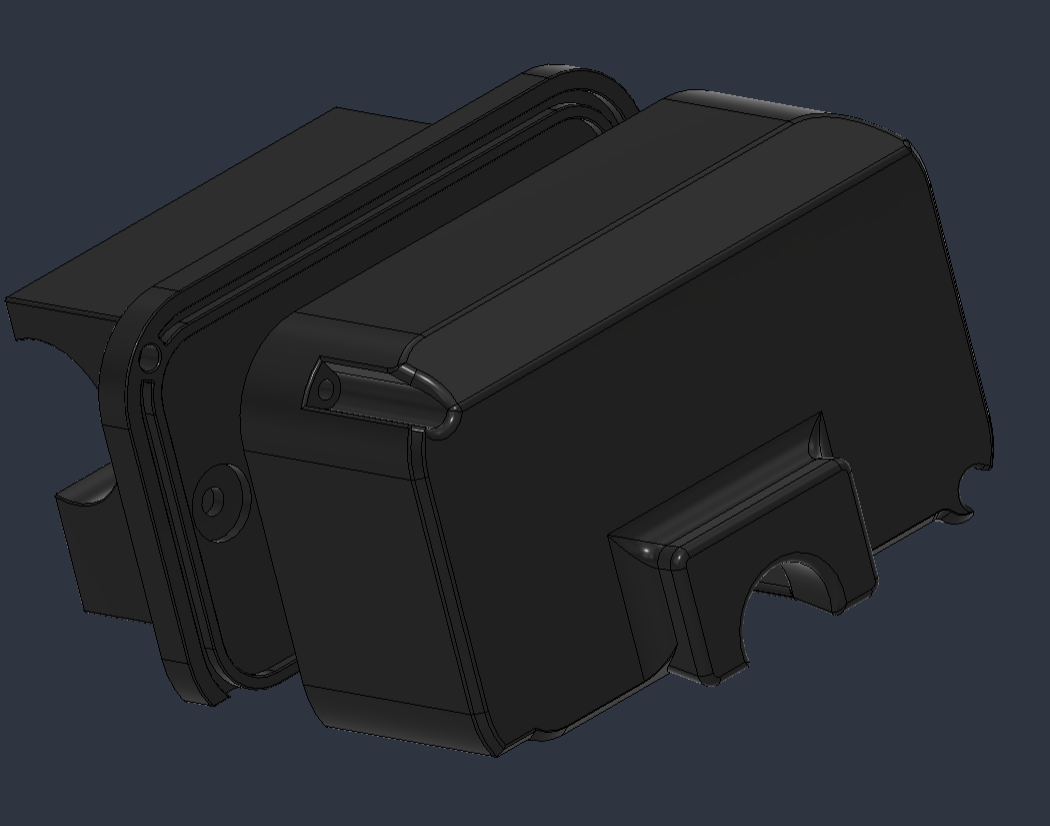
CAD view of the custom XV750 electronics enclosure, showing its cover, perimeter lip, mounting details, and harness openings.
Completed enclosure and cover design, ready for the final ABS print.
Printed electronics enclosure fitted to the Yamaha XV750 with the sleeved wiring harness routed through its opening.
Enclosure fitted to the XV750 with the sleeved harness routed in place.

03 / CUSTOM BRACKETS & FITMENT

From CAD to the bike.

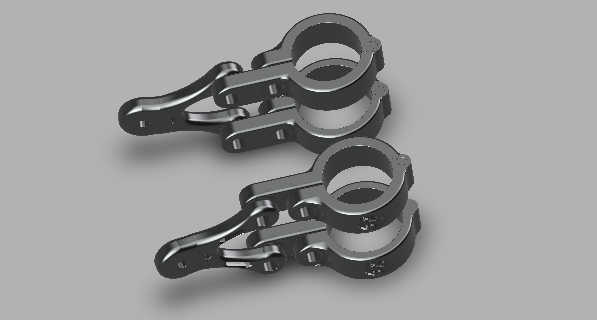
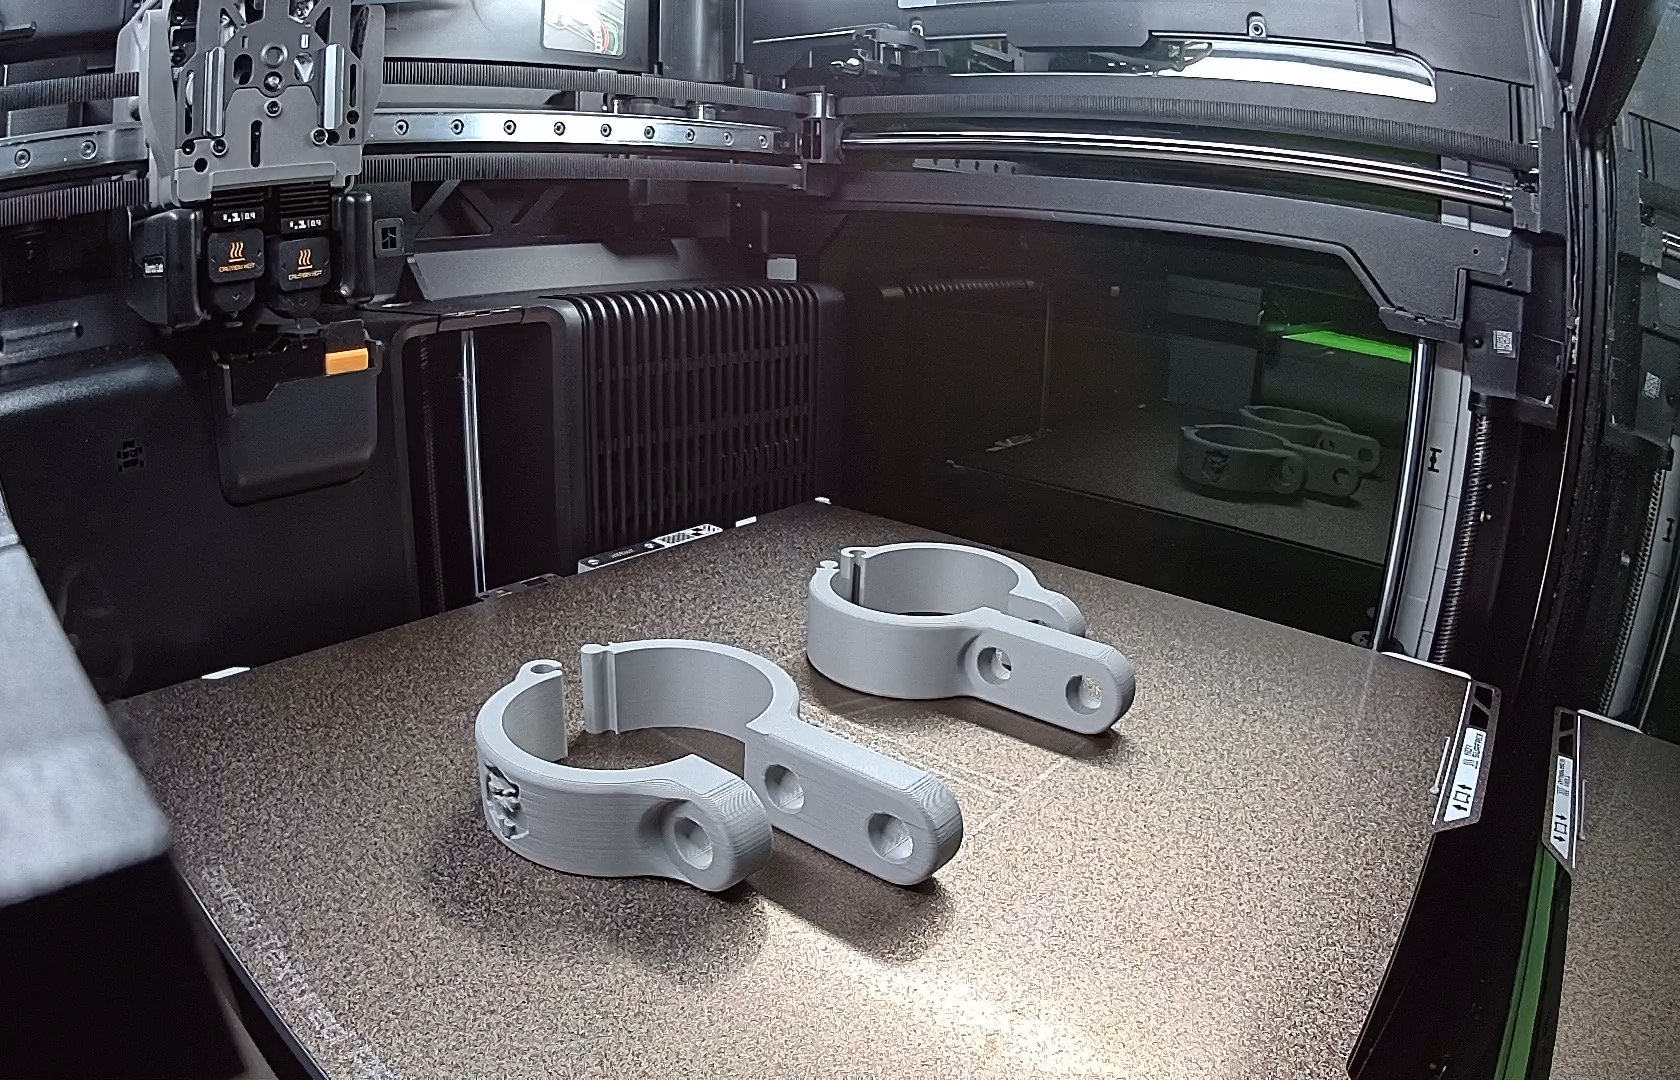
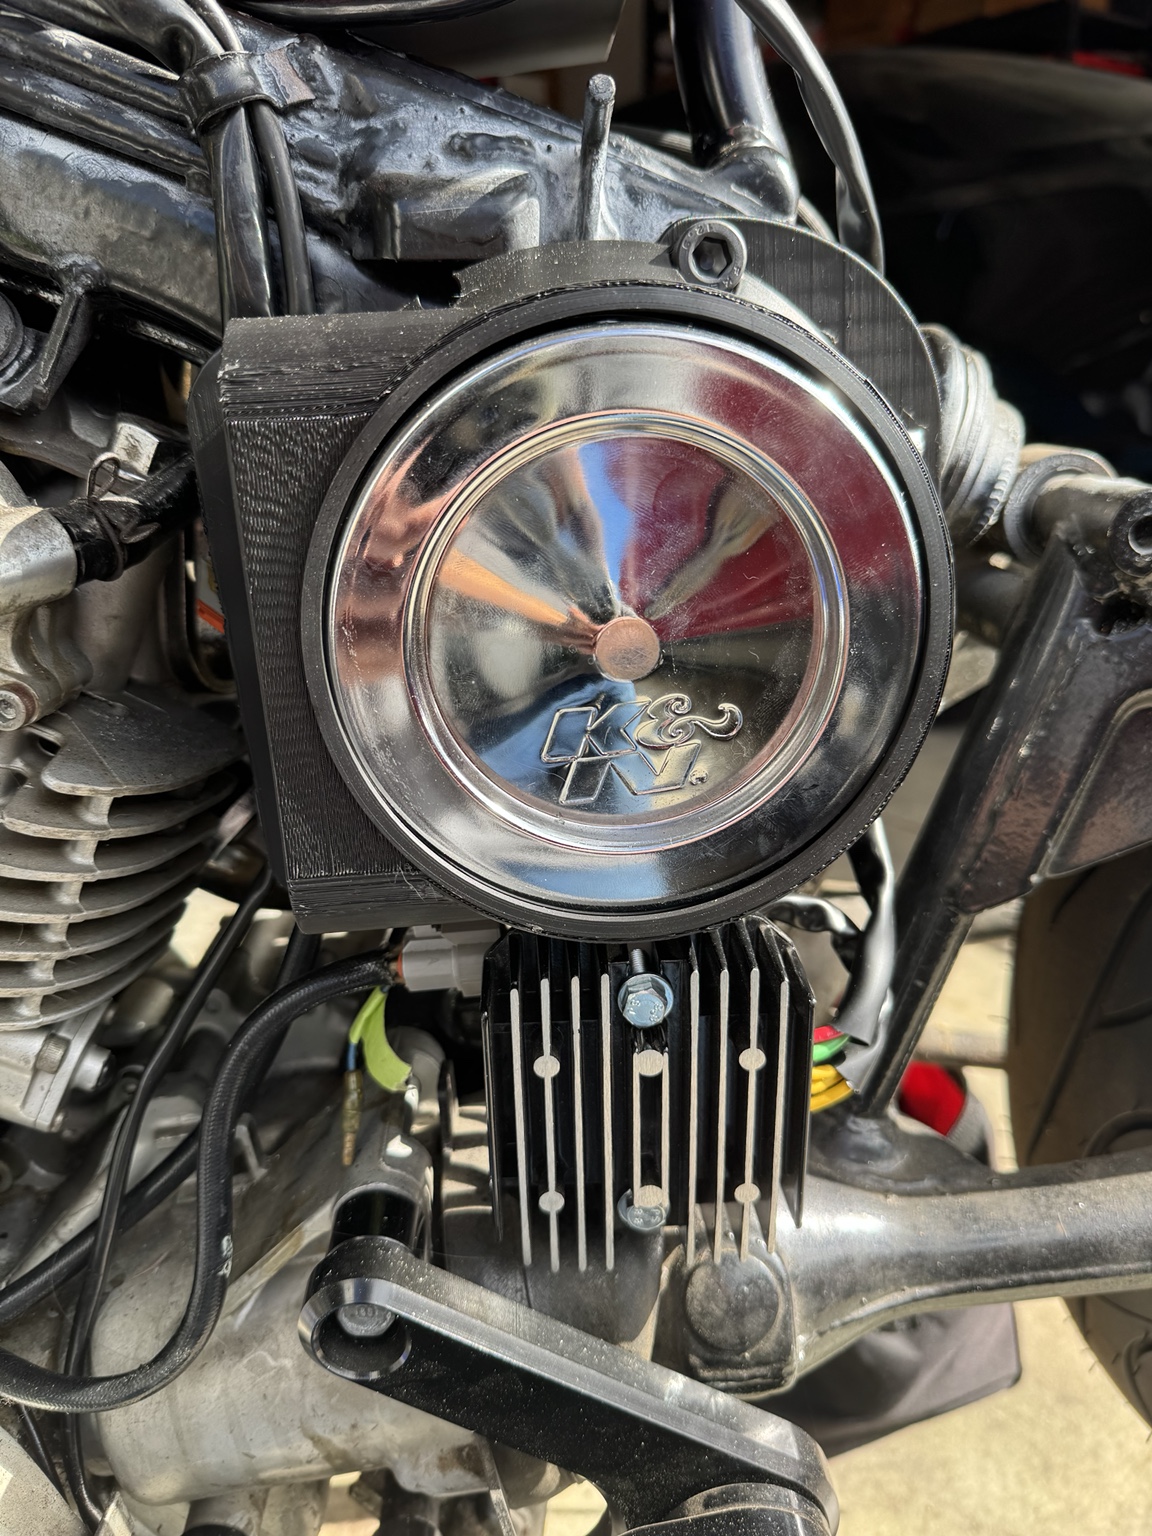
A custom bracket brings the K&N air filter and rectifier into the XV750’s compact layout. CAD development and printed fit checks refine the mounting points and clearances. Clamp prototypes follow the same process, moving from digital geometry to physical parts for evaluation.
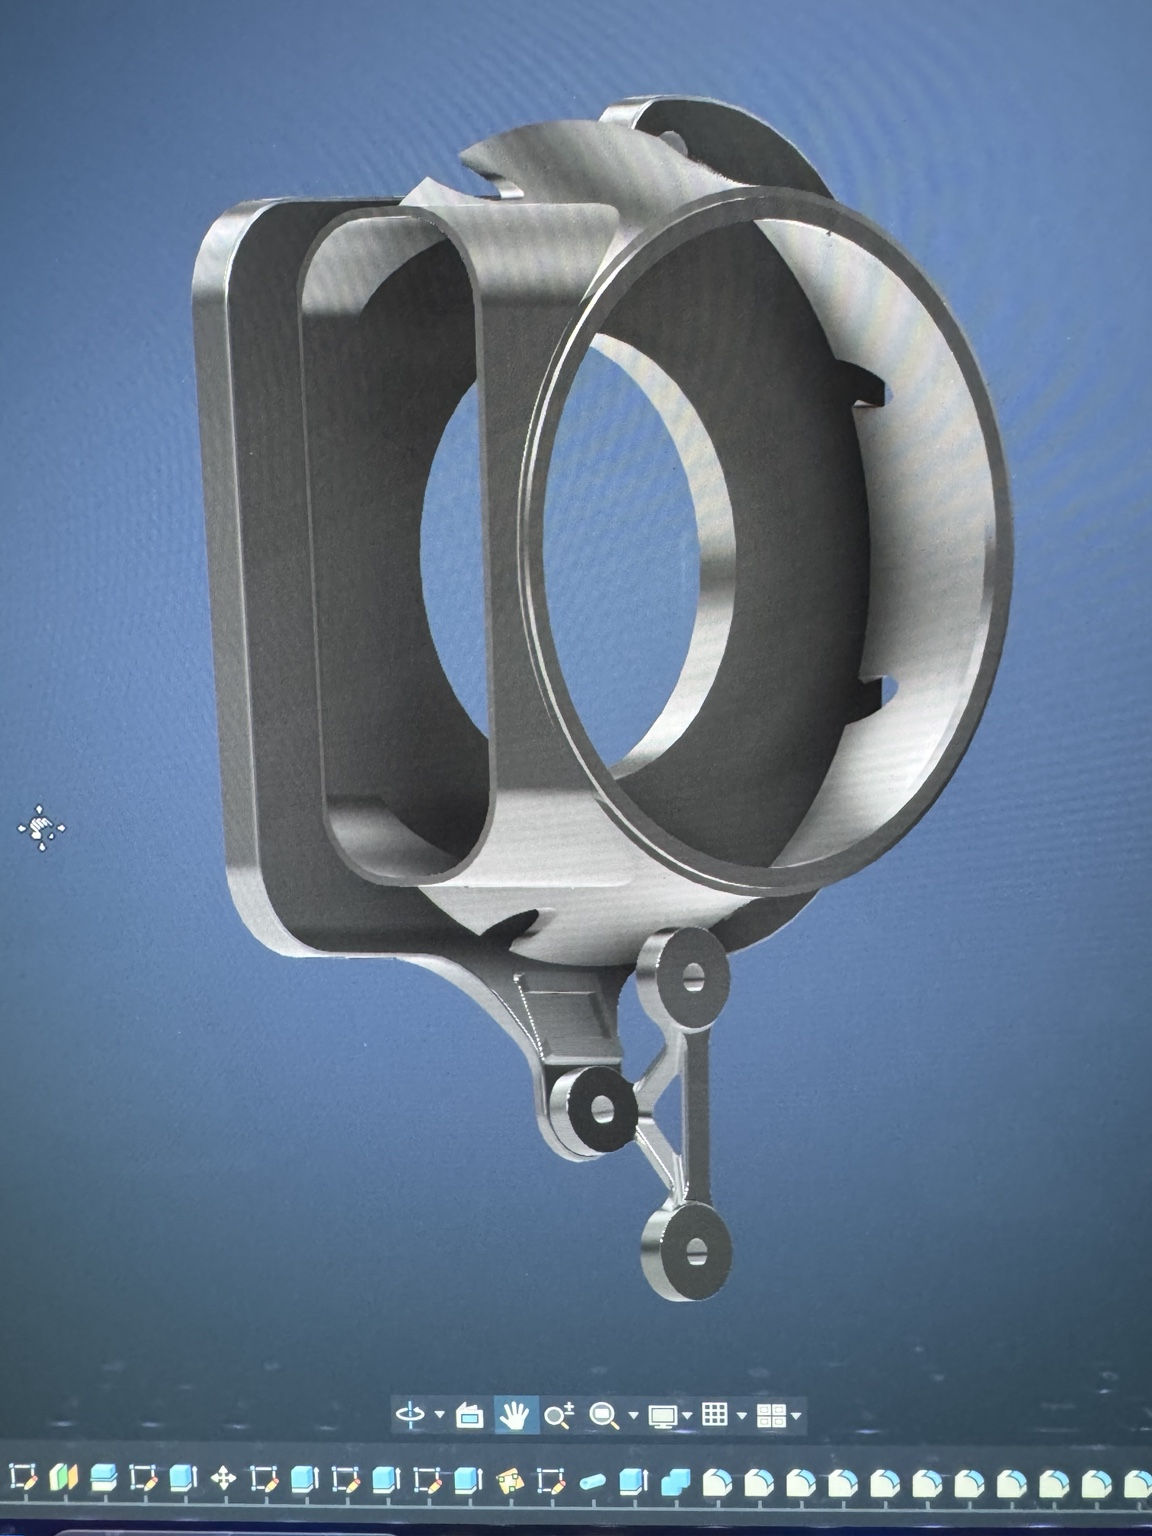
CAD model of the custom Yamaha XV750 air-filter and rectifier bracket.
Air-filter and rectifier bracket developed in CAD around the available mounting space.
Printed bracket holding the K&N air filter with the rectifier mounted below on the Yamaha XV750.
Printed bracket fitted to the bike to check filter placement and rectifier clearance.
CAD development of paired clamp brackets for the Yamaha XV750 project.
Clamp geometry developed for prototype fit checks.
Two printed clamp prototypes on the 3D printer build plate.
Physical prototypes ready for fitment evaluation.

04 / SCAN-BASED BODYWORK

Developing the seat and cowl.

3D scan data provides a reference for the seat pan and cowl. Digital models refine the shape, fit, and relationship to the bike before tooling is made.
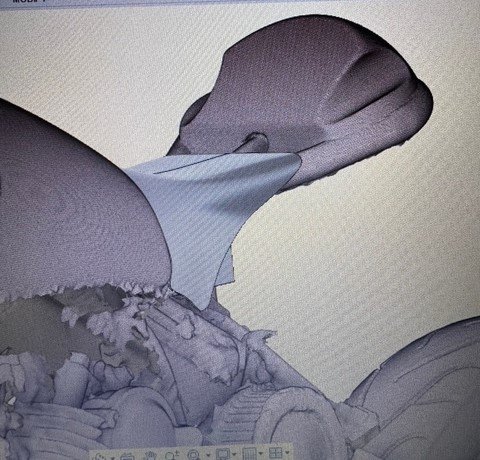
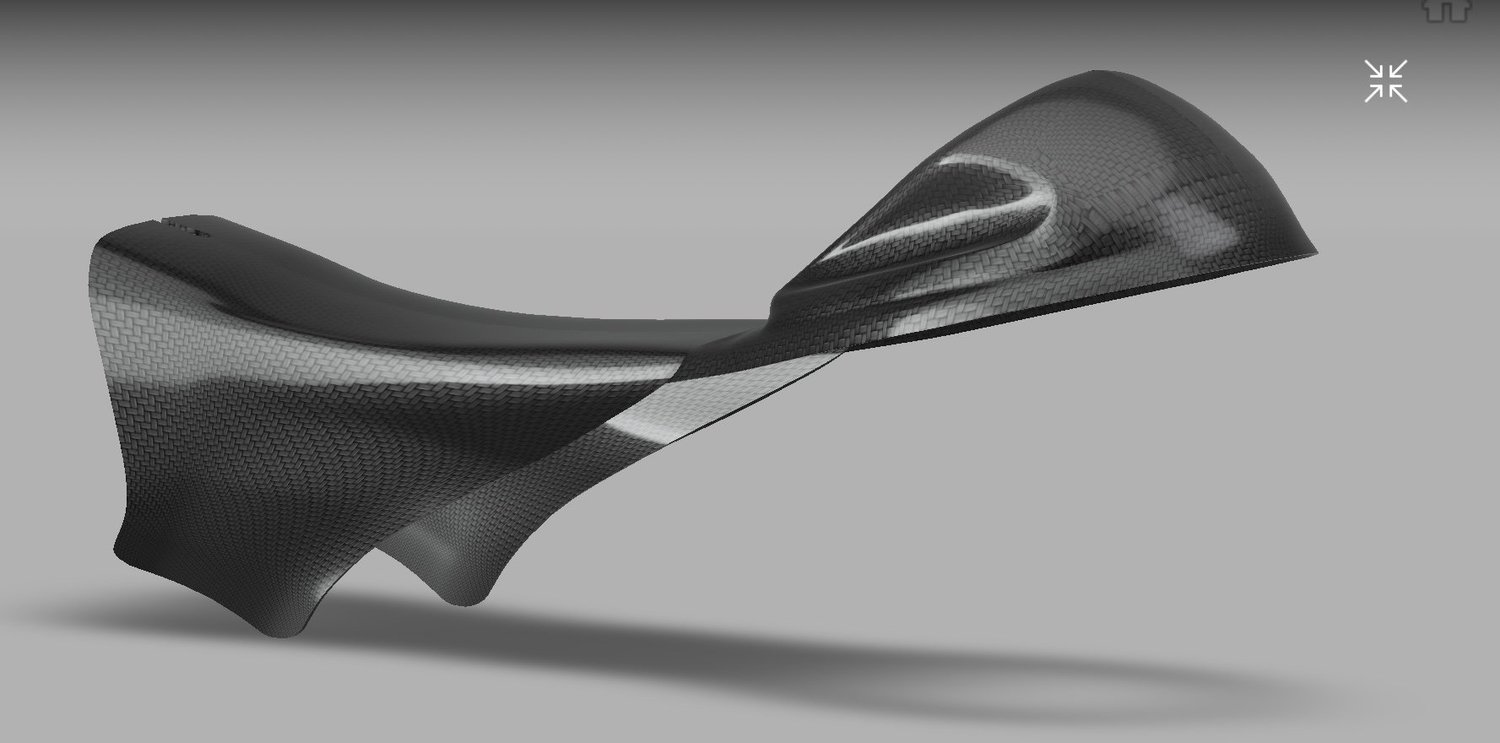
Seat-pan design developed using the scanned geometry.
Digital seat-cowl development before mold creation.
Refining the cowl’s form, fitment, and rider ergonomics.
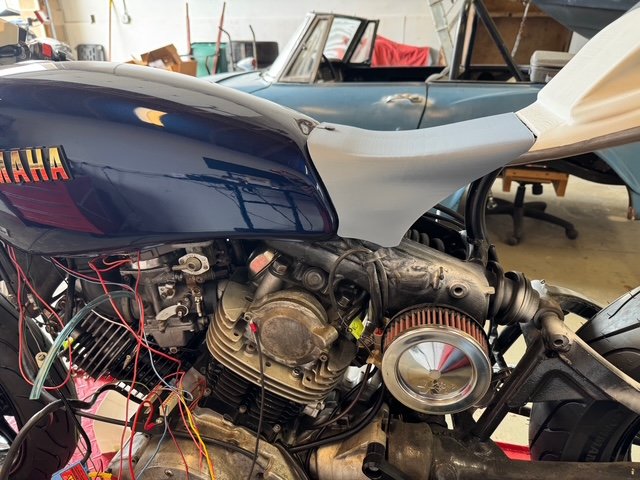
Printed seat prototype fitted to the bike before carbon-fiber tooling.

05 / TOOLING & LAYUP

From a model to a mold.

Once the shape and fit are established, the mold is developed and prepared for the composite layup. Surface preparation and vacuum bagging carry the design into fabrication.
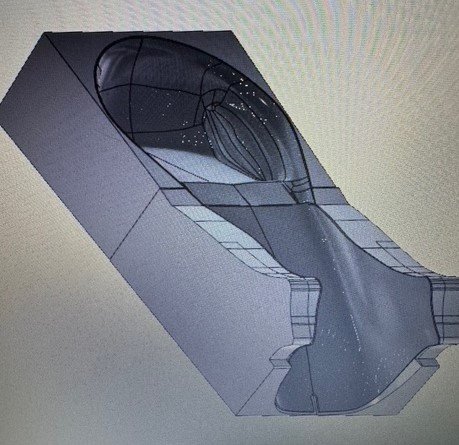
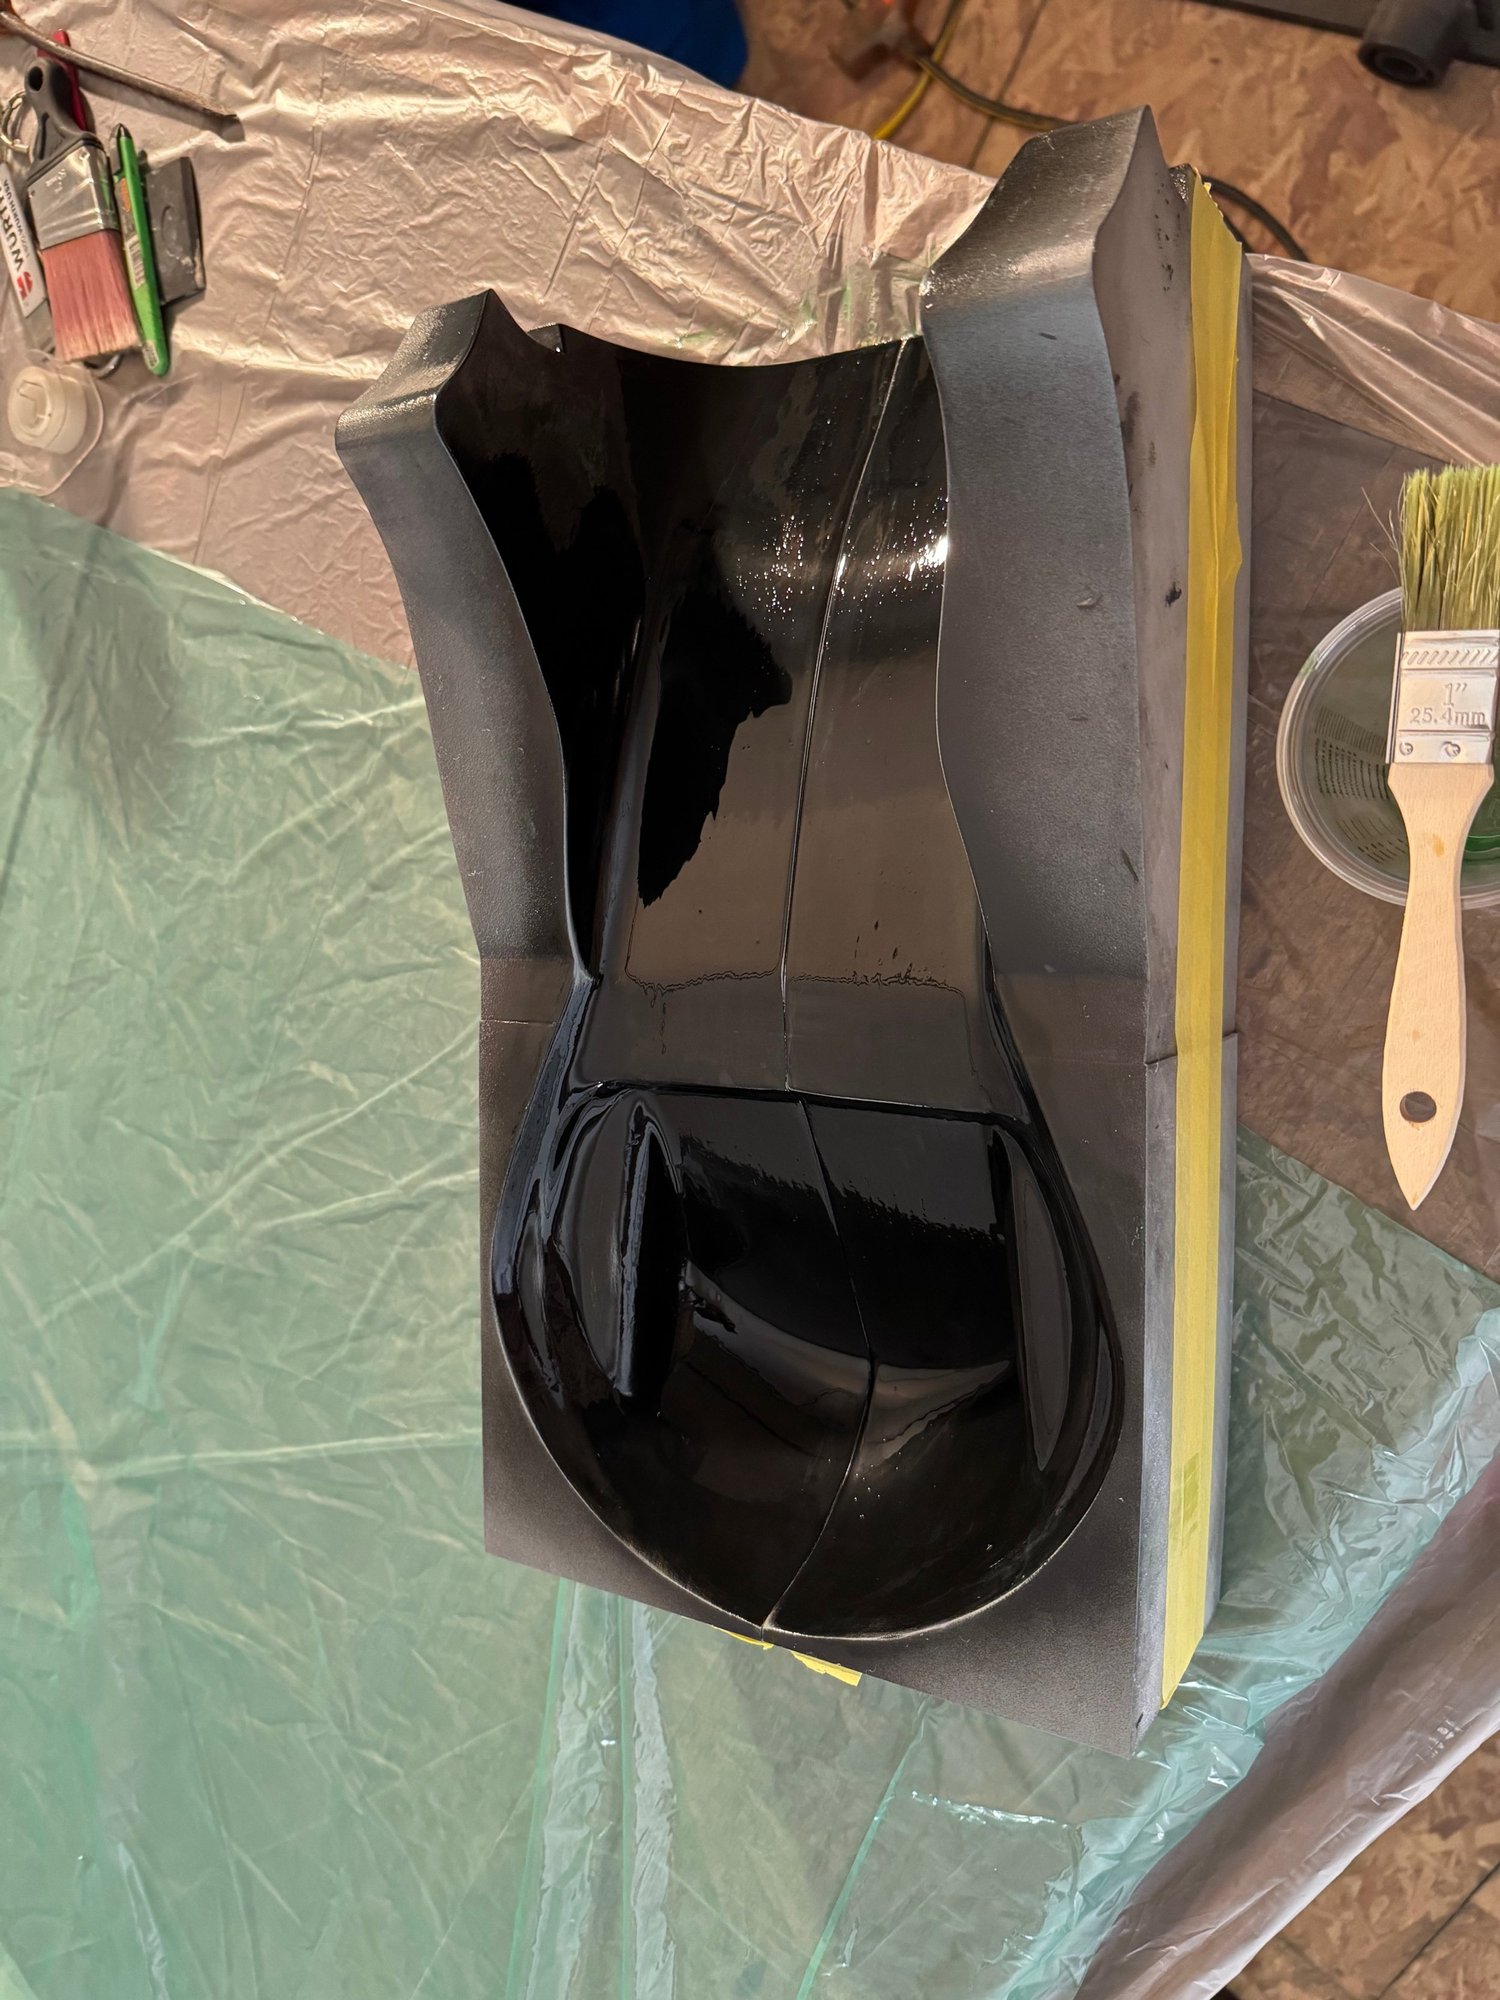
Seat-mold model developed after checking the shape and fit.
Mold sanded and surface-prepared for the carbon-fiber layup.
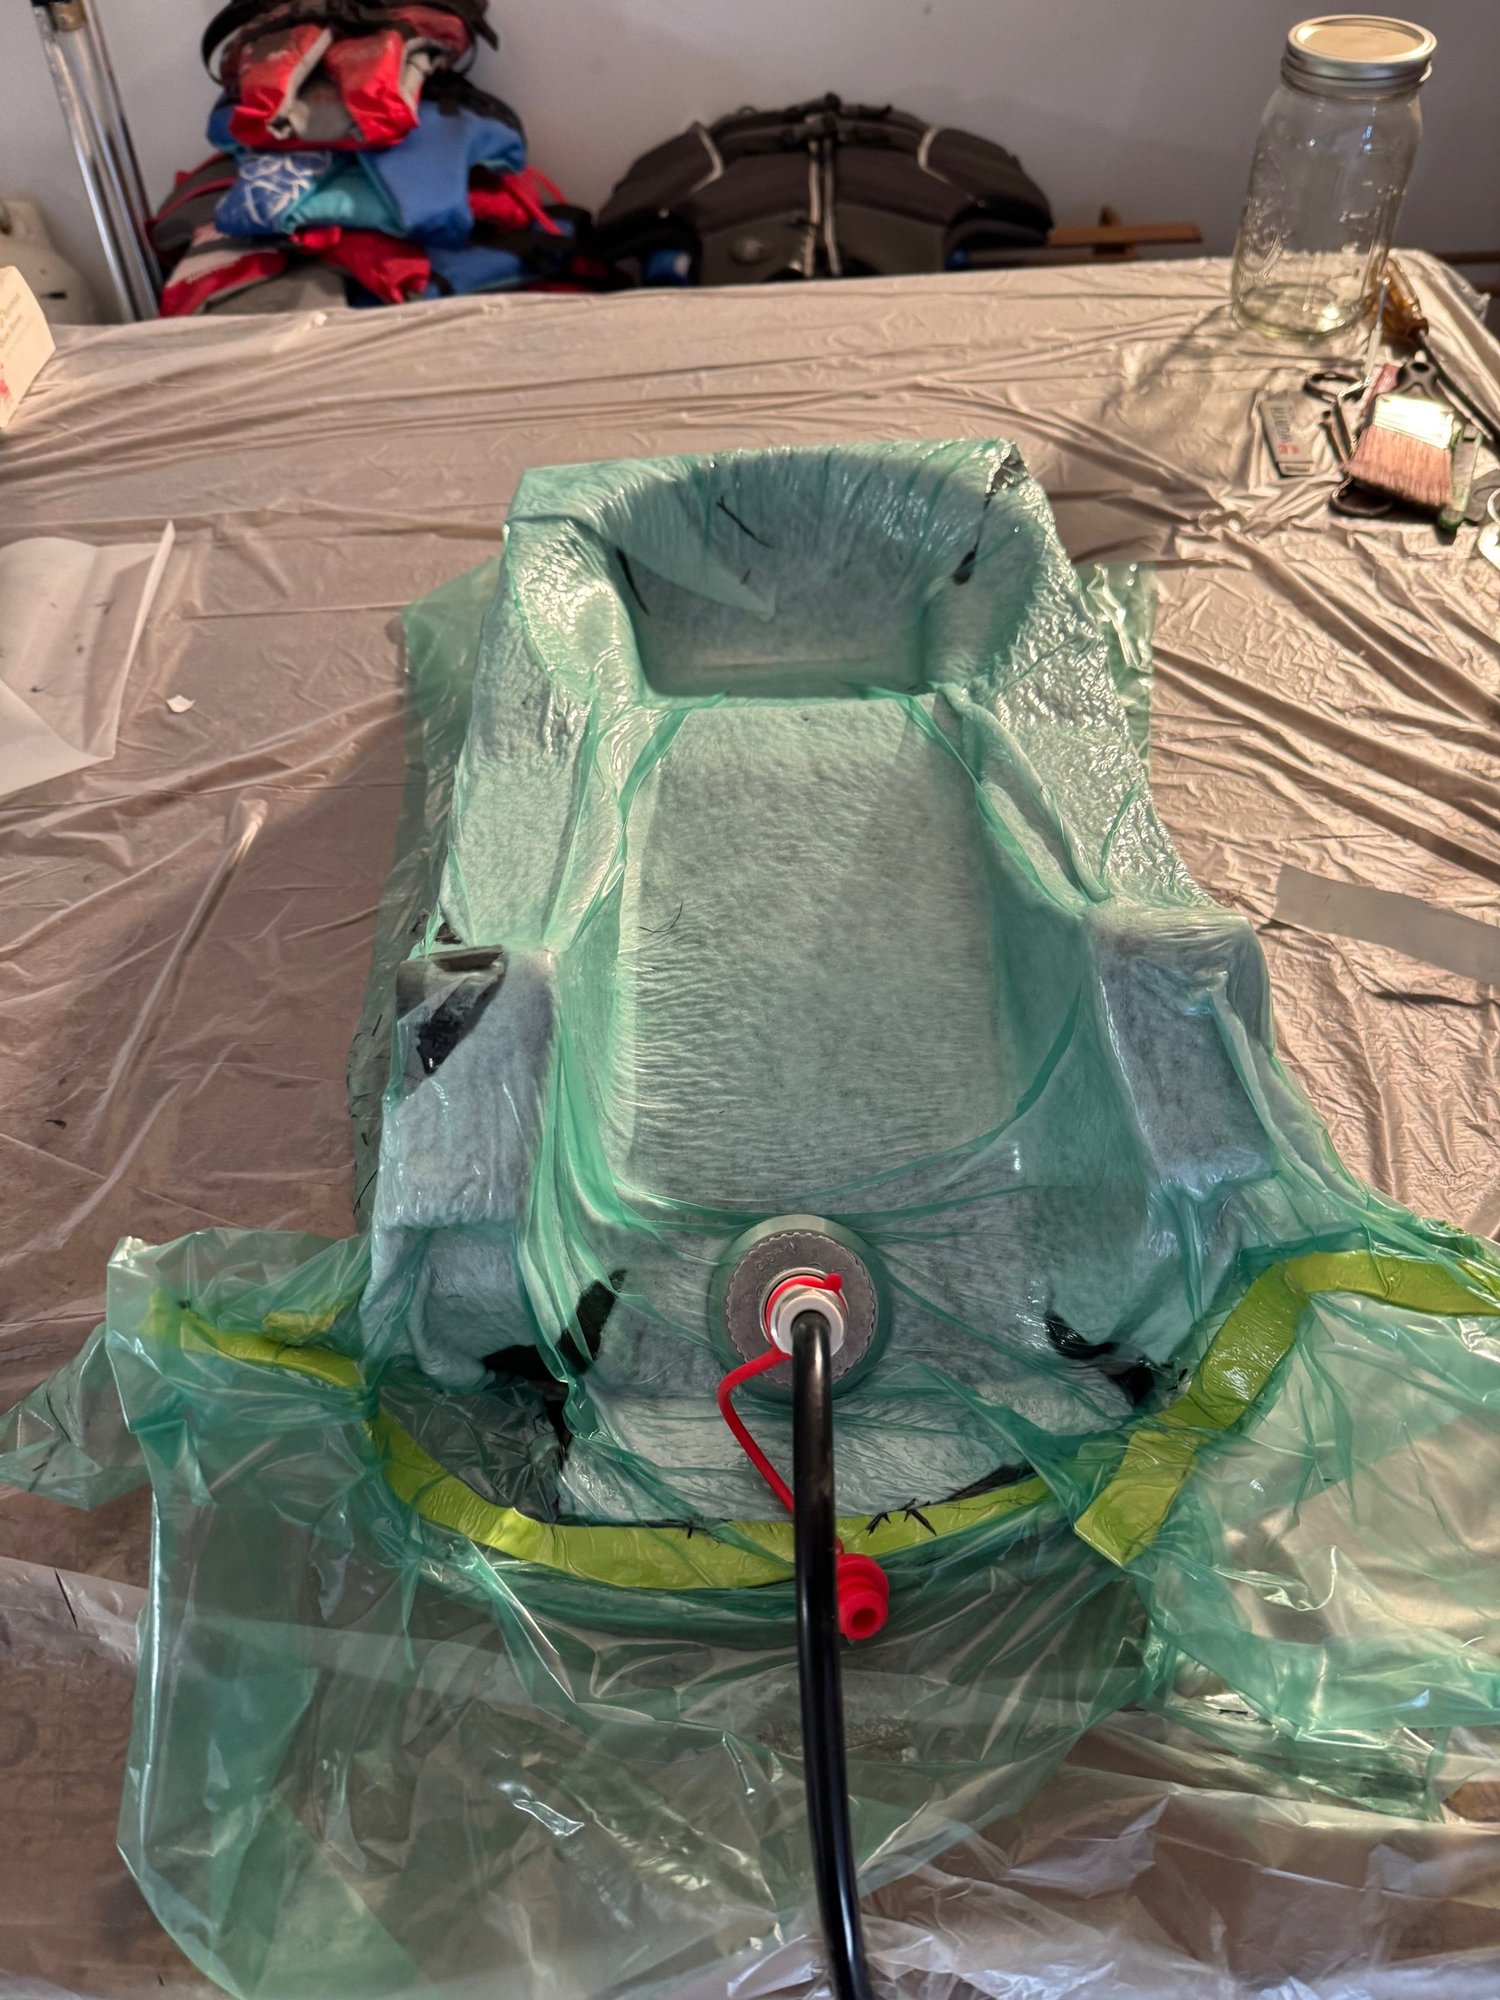
The layup prepared for vacuum bagging.

06 / THE CARBON COMPONENT

The design becomes a physical part.

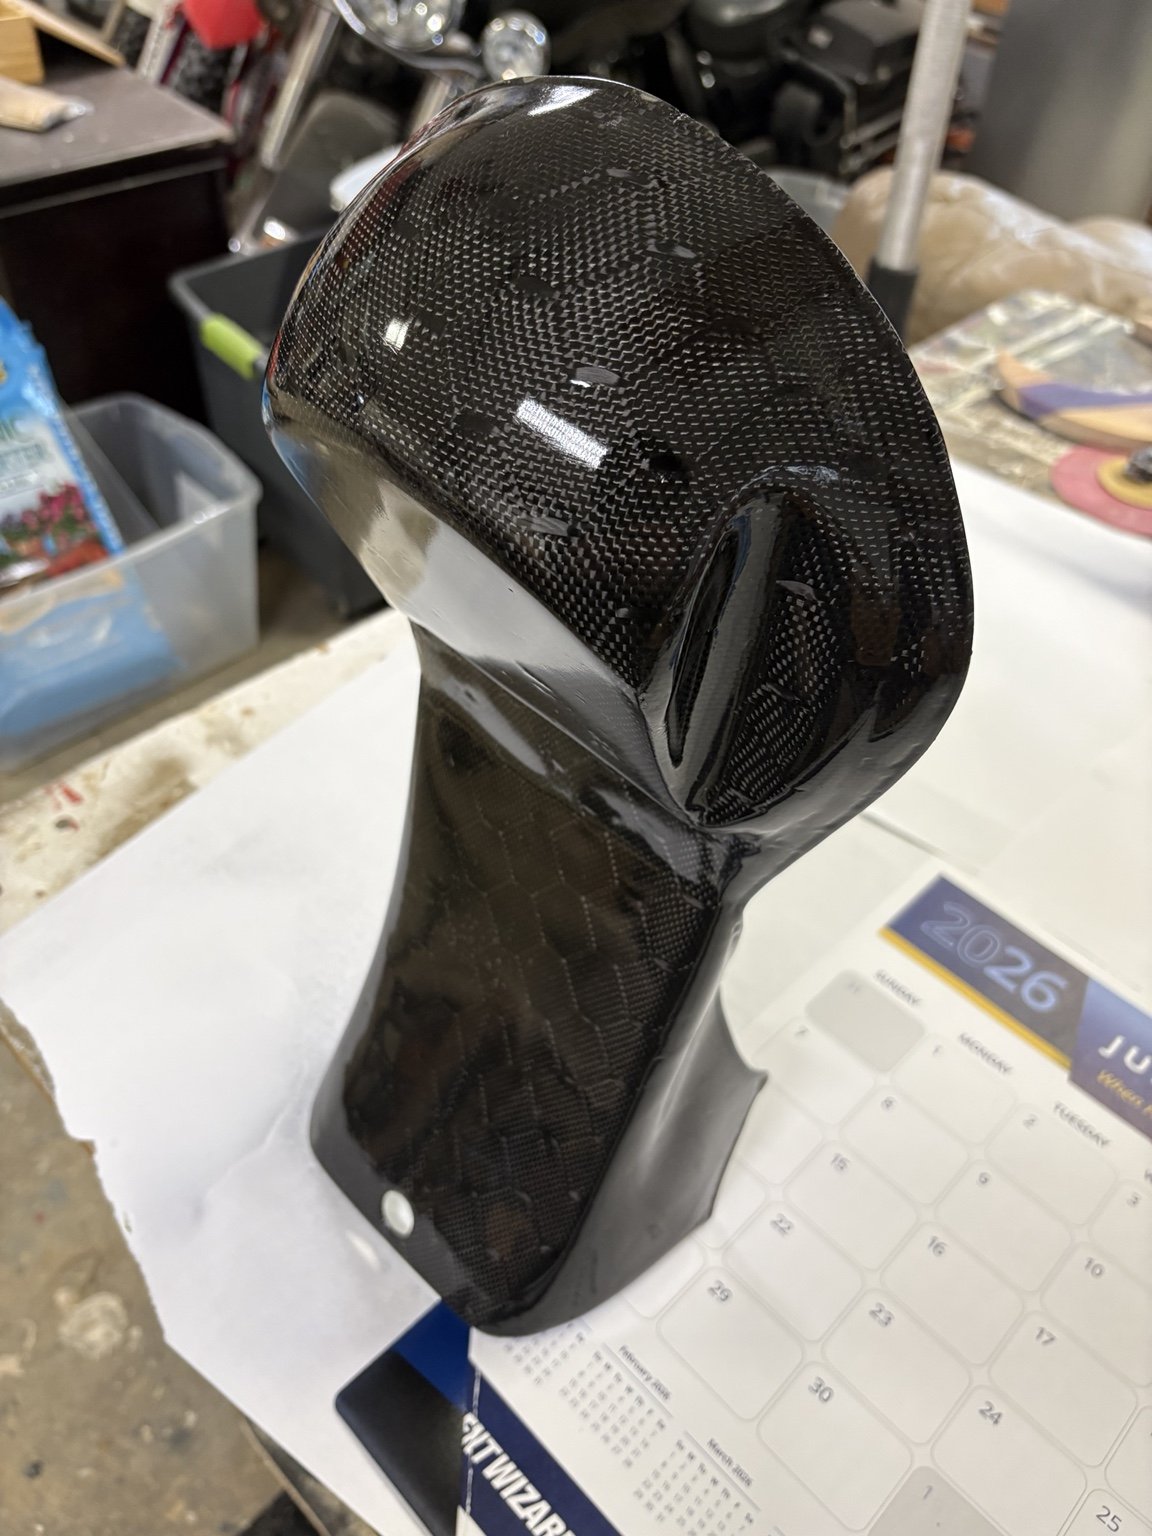
Blue Beaver Concepts manufactures carbon-fiber seat pans for the Yamaha XV750 Virago. This build documents the process from scan-based design and tooling to the cured composite component.
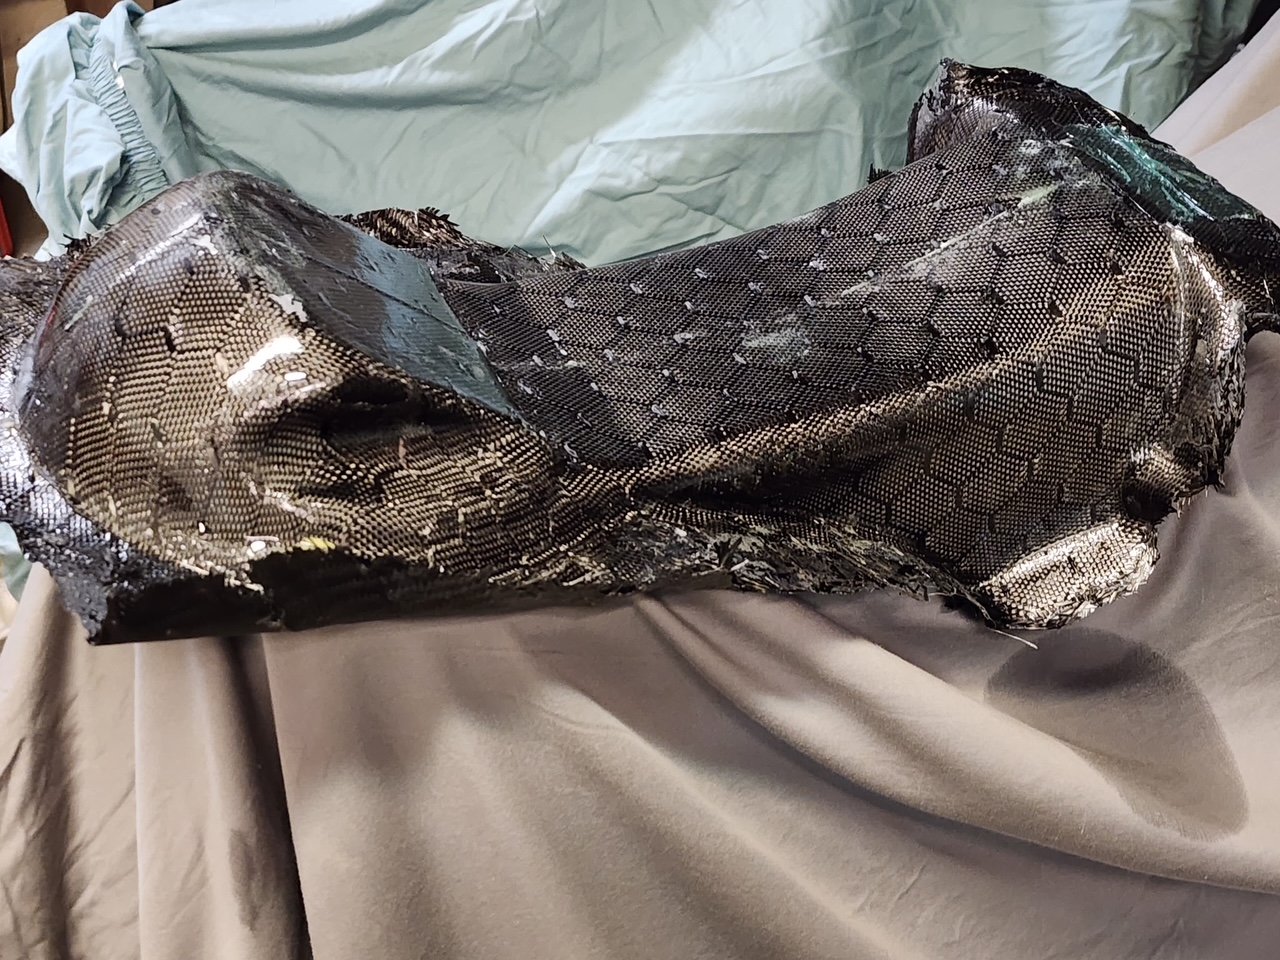
Cured carbon-fiber seat panel before finishing and UV-protective coating.
Carbon-fiber seat cowl produced from the completed mold.

07 / FENDER & COMPRESSION TOOLING

From fender design to compression mold.

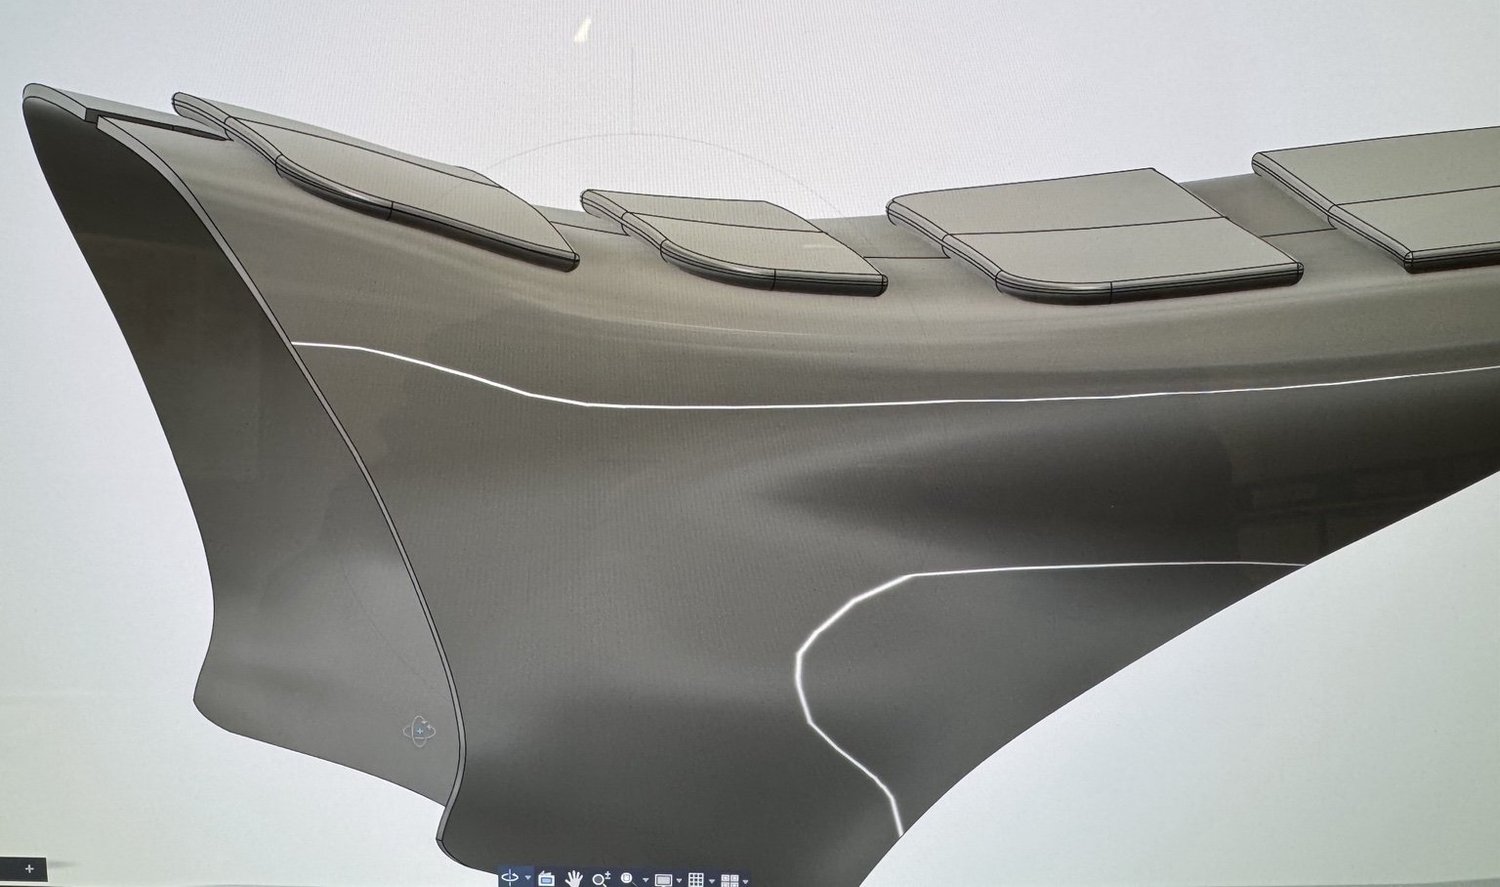
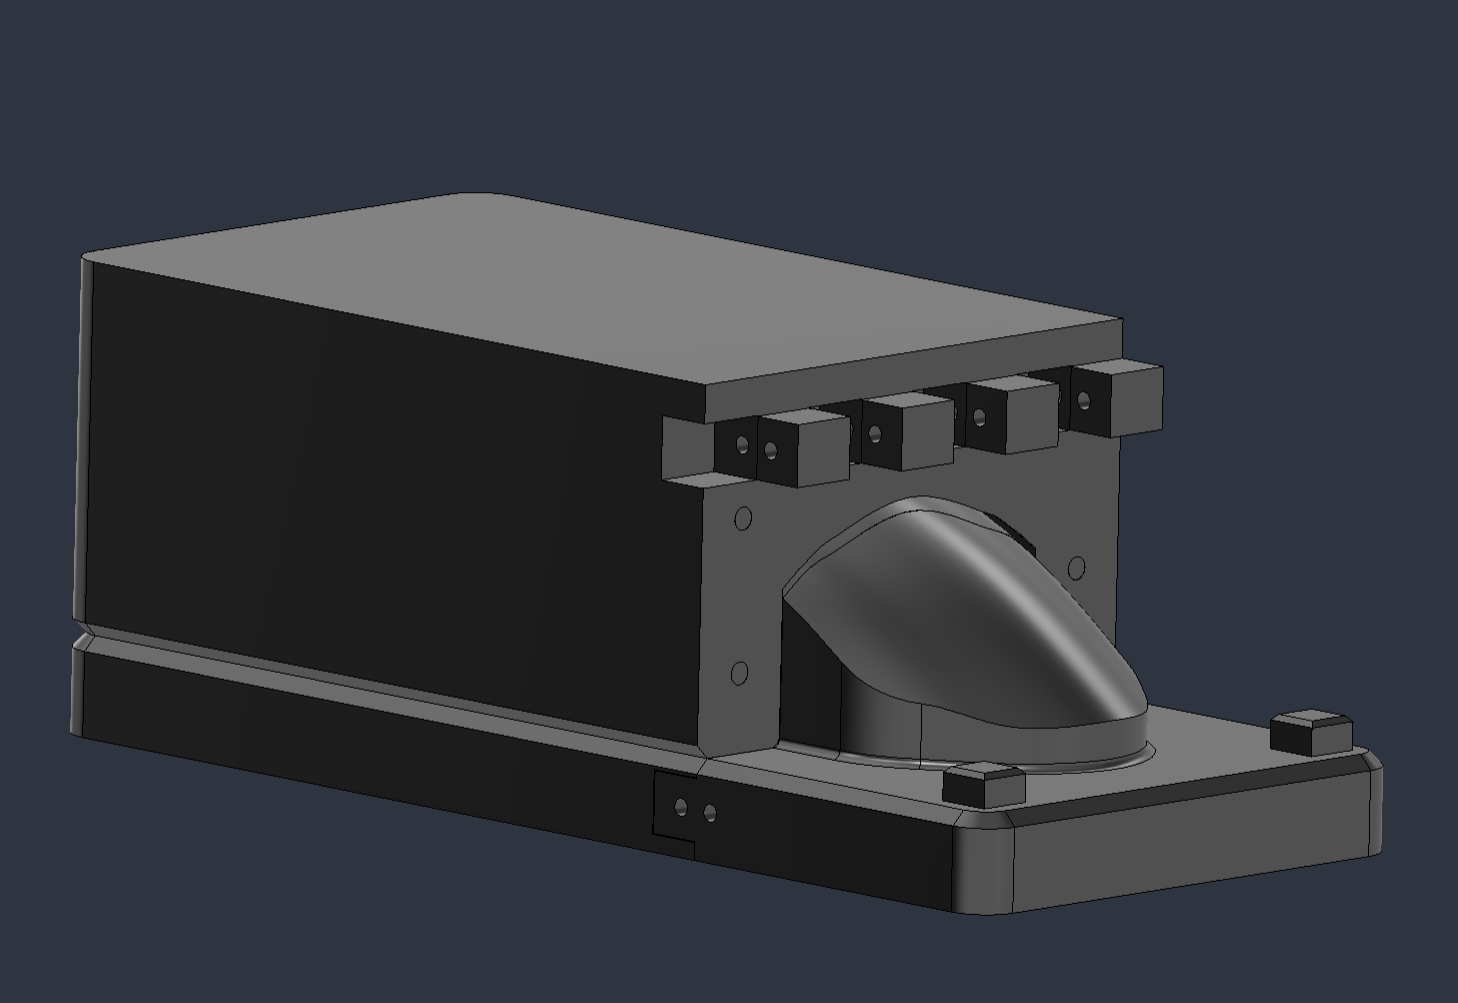
The XV750’s custom carbon-fiber fender is being developed in CAD alongside a split compression mold. The tooling is divided into printable sections, with interlocking locating features designed to align the sections when assembled.
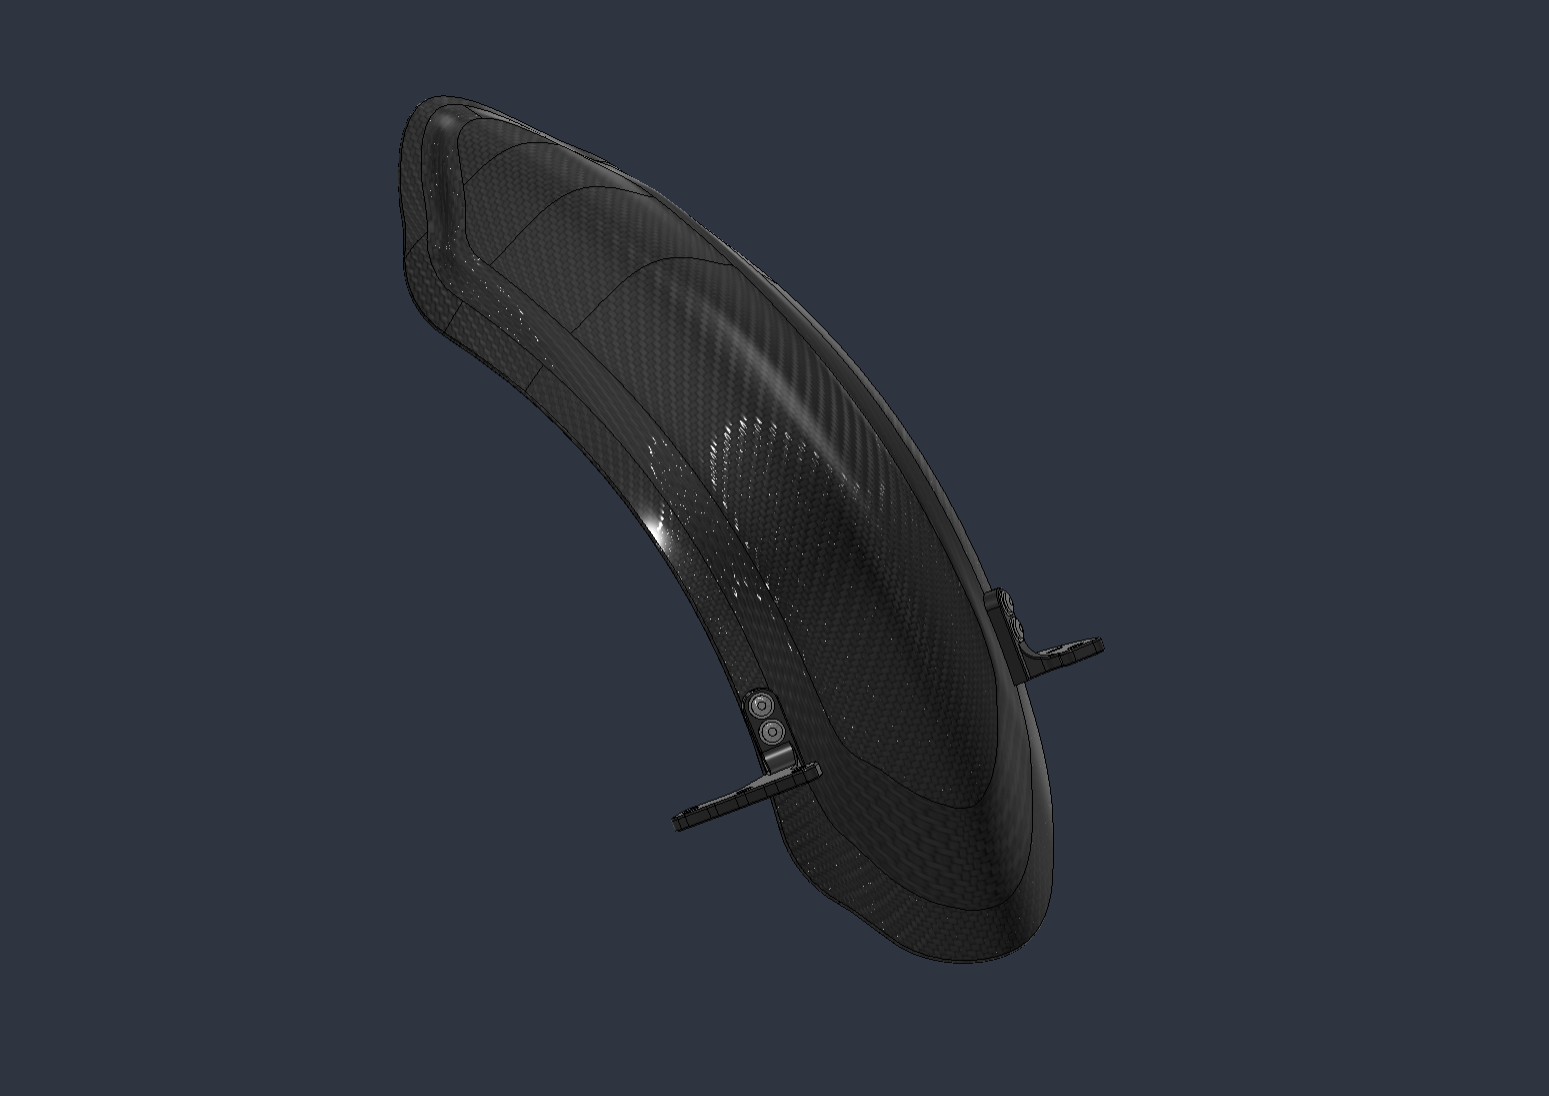
CAD model of the XV750 custom fender with a carbon-fiber appearance and mounting brackets.
Fender shape and mounting details developed in CAD.
CAD design of split compression tooling for the XV750 fender, showing locating blocks and pin holes.
Sectioned compression tooling with locating features for assembly.