Blue Beaver ConceptsBLUE BEAVERCONCEPTSLet’s talk about your project
← All projects

PROJECT 03 · PRODUCT DEVELOPMENT

Packout
Insert System.

Designed for fit.
Built for function.

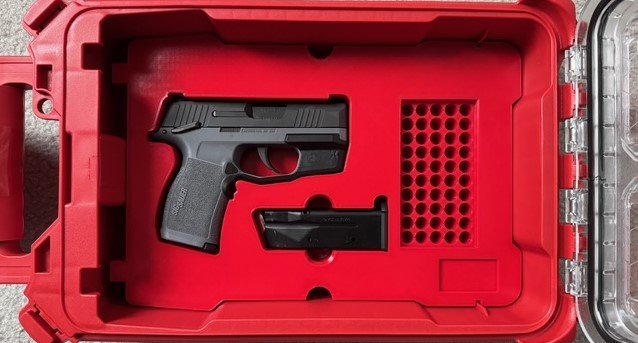
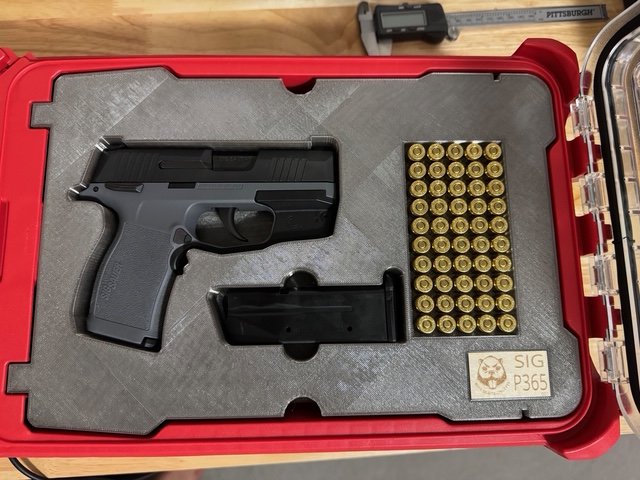
A custom Milwaukee Packout insert for the SIG P365. CAD development and printed fit checks lead to a finished ABS insert with shaped recesses and removal notches.

CAD designFit testingABS production
Shop inserts ↗
Finished ABS Packout insert for the SIG P365
THE FINISHED INSERT · ABS

01 / THE DESIGN

A layout around what it holds.

The insert is modeled around the P365, magazine, and Packout case. Component placement, access, and fit are worked through in CAD before printing.
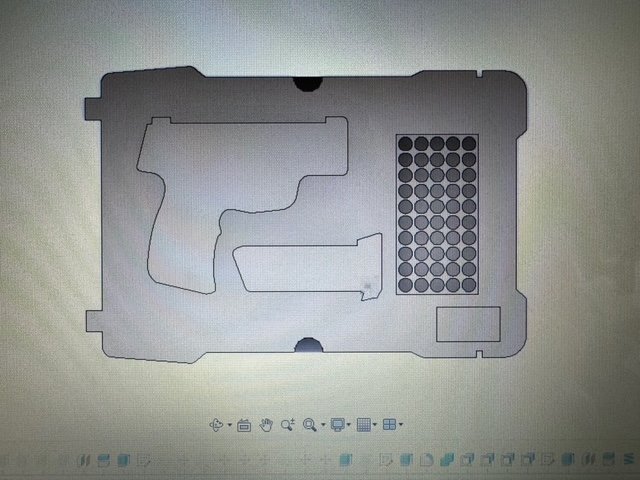
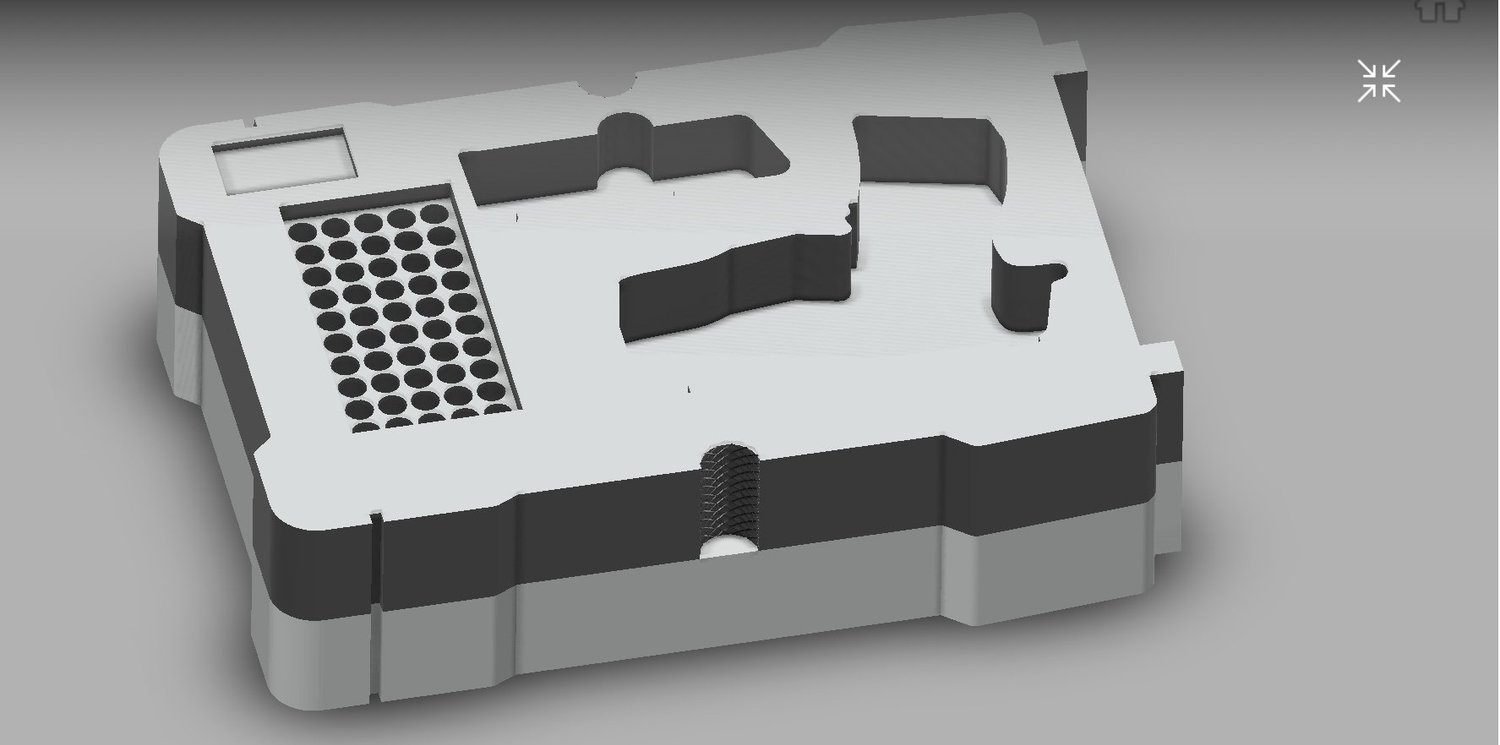
CAD layout showing component placement within the insert.
The complete insert model before print setup.

02 / FIT CHECKS

Test the contours first.

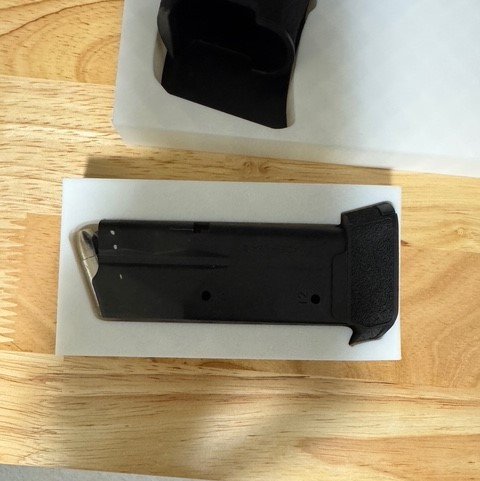
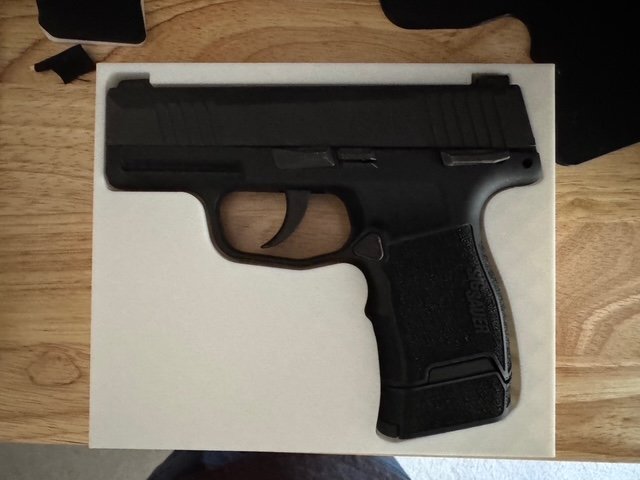
Small reference prints check the shapes before committing to the full insert. Separate checks verify the P365 and magazine fit.
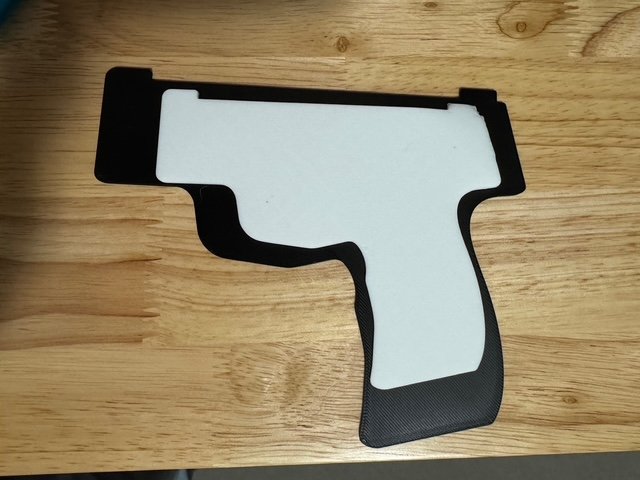
Contour reference used to refine the shape.
Printed reference used to check P365 fit.
A separate printed reference checks the magazine fit.

03 / PROTOTYPE TO PRODUCT

From PETG trials to ABS production.

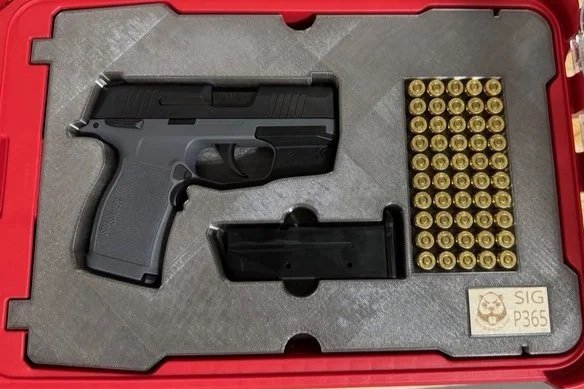
PETG prototypes establish the fit in the Packout case. The production version uses ABS, with textured areas and tapered notches to make the contents easier to remove.
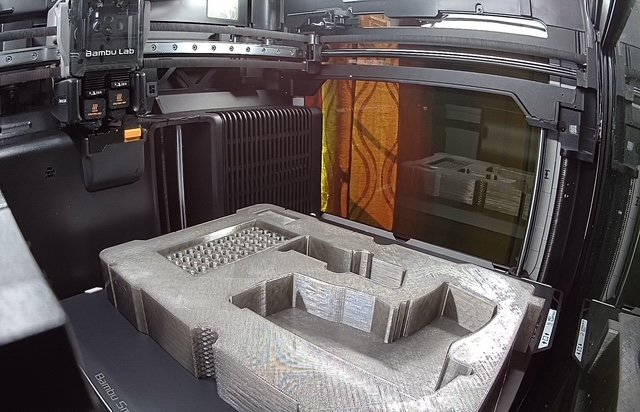
The PETG prototype printing on the H2D.
Completed prototype fitted into the Packout case.
The insert layout with the contents in place.
The final ABS version prepared for production.

READY TO ORDER

Find your insert.

See the current options in the Blue Beaver Concepts shop.

Visit the shop ↗